Skip navigation

Tag Archives: developing film

I was trolling through some film resources online a month or two ago, and I came across a mention of Caffenol as a developer. Wait a minute thought I, what’s this Caffenol about? That doesn’t sound like a commercial developer…

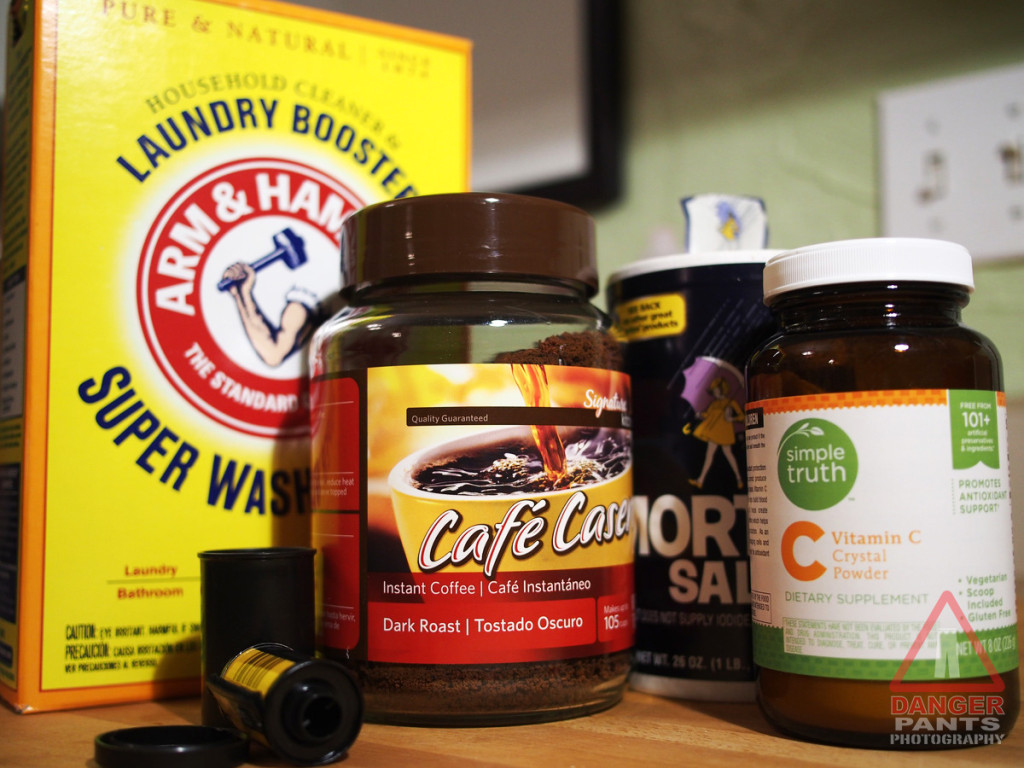
How right I was! Caffenol is actually a completely home-made film developer, which uses instant coffee as its active ingredient. As soon as I read the description, I had to try it. I dashed off a roll of Ilford HP-5+ 400 ISO 35mm film that I wouldn’t be sad to lose to a bad process, and finally tonight I put together the ingredients, and developed my disposable roll.

The process of mixing Caffenol (I tried for the Caffenol-C-H recipe, though I used insufficient salt after mistakenly thinking it was iodized) is straightforward, and anyone who can afford a cheap digital scale ($10-15 online) and the raw ingredients can put it together. Using it is a bit odd: I’m so used to developer being clear that it felt wrong to pour this pitch-black liquid into the tank. I used the recommended 15 minutes with agitation, though I washed the film a couple times in water before pouring the stop bath in (not wanting it to come out with coffee color, since I reuse my stop bath).

Other than your development process smelling like bad coffee, it was exactly like developing with the XTOL I’m used to.

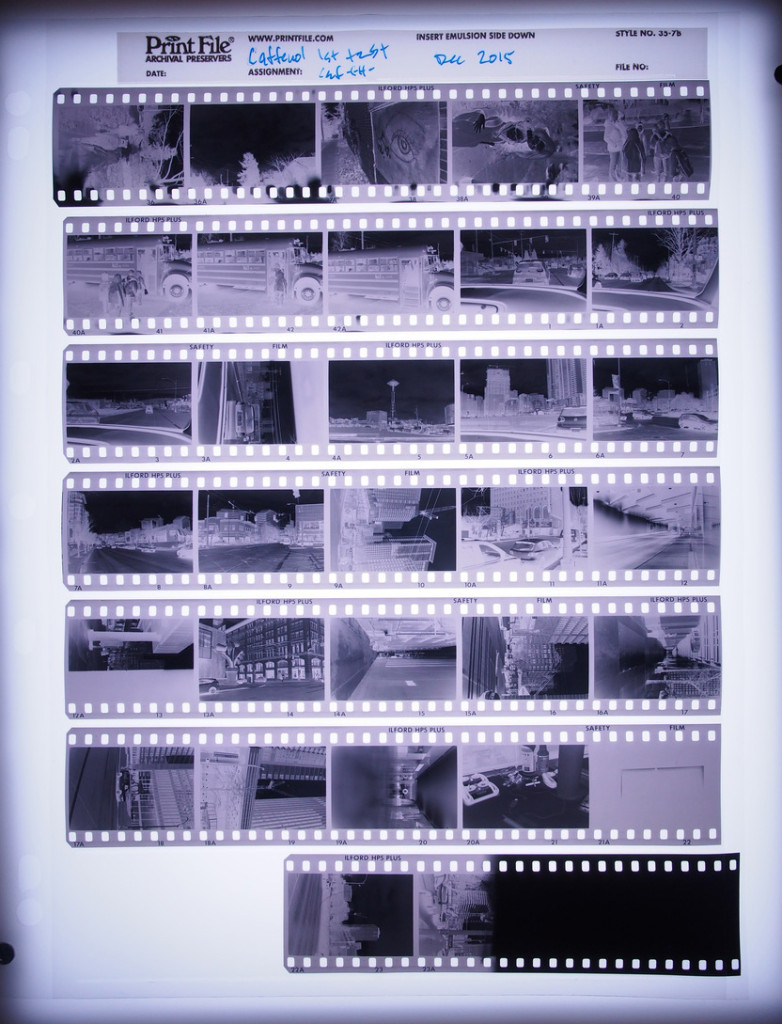
As a point of comparison, here’s a light table photo of the negatives I developed tonight:

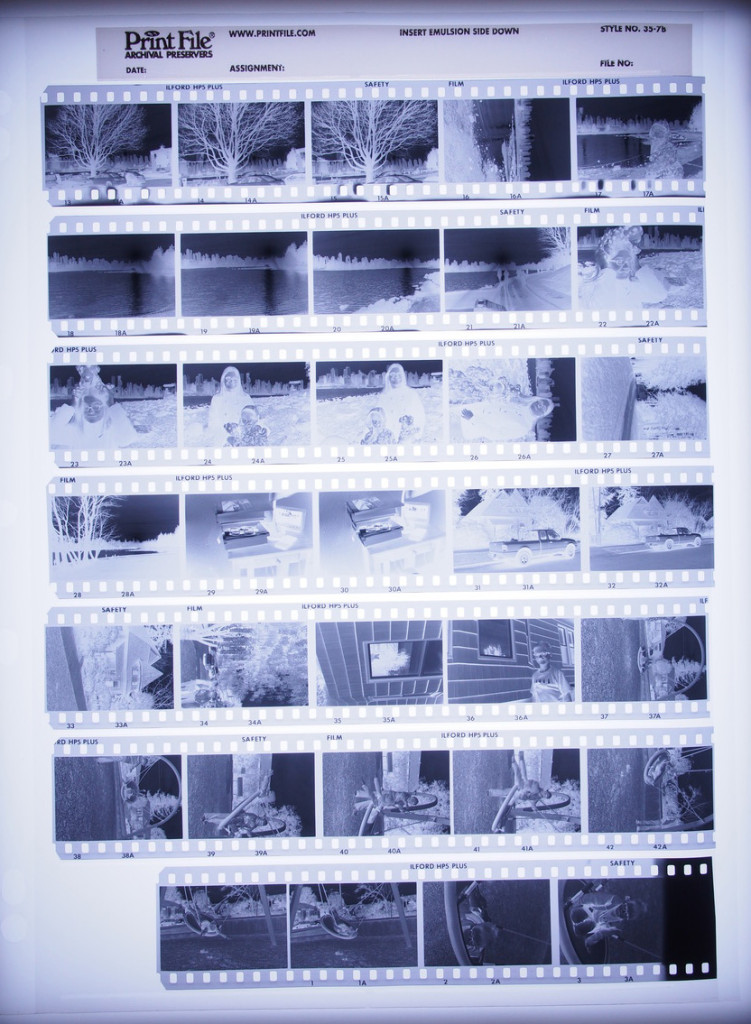
And here is a set of negatives from earlier in the year, developed in XTOL (both pictures shot with the same exposure):

As you can see, the base fog (darkness of the unexposed film stock) is pretty pronounced with Caffenol, but I also used half the amount of table salt I was supposed to (which is specifically to control base fog), so I don’t take this as anything more than a mistake on my part. The shadow detail looks pretty good, and the highlights look very solid.

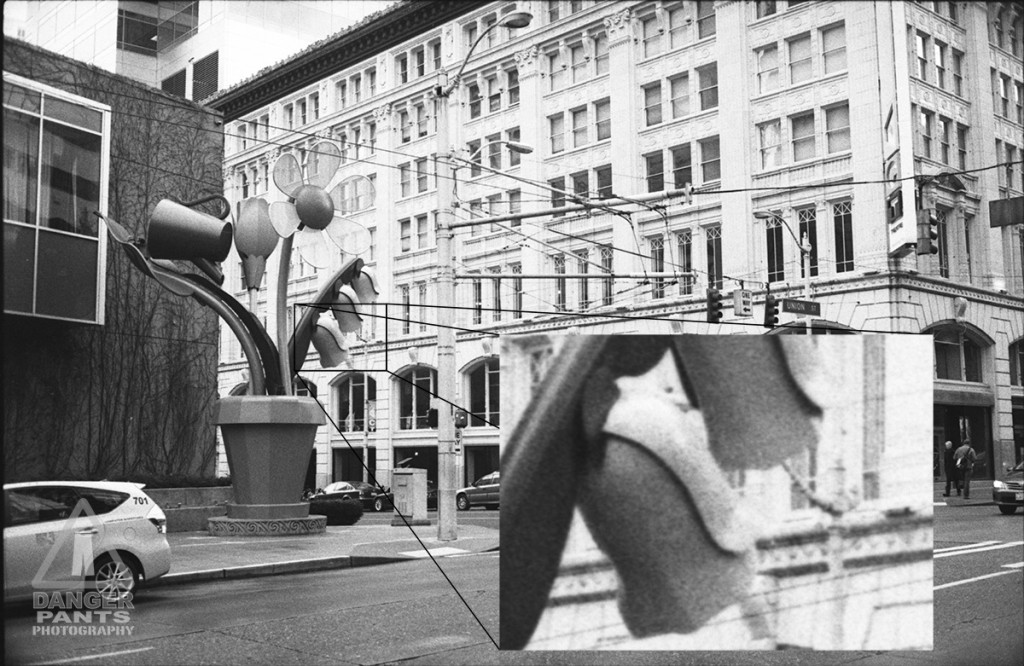
The scanner has no problem with the film, and the scanned result looks reasonably good. Grain is present, but not substantially worse than XTOL-developed film (I see I also need to work on scanner focus, but that’s a separate issue). I’ve inset a 100% crop from the flowers in the sculpture to show the detail. This was scanned at 6400 DPI, though it has been resized for reasonable web use:

Overall, an interesting experience. Worth a bit more work to see what happens.

If you’ve ever processed sheet film in open trays, you’ve likely come across the same problem I had: negatives get scratched if you try to process more than one at a time (I’ve read that it’s possible to do, but I’ve never been successful). The temptation was always there, though, because processing one negative at a time is deadly slow. With my one water bath (the bathroom sink), I couldn’t presoak negatives at the same time I was washing processed negatives, for fear of contaminating the unprocessed film with fixer. Processing a sheet of film was taking about 30 minutes — now multiply that by a reasonable 5-15 shots from a day’s shoot, and processing film became a very daunting prospect, to the point that I still have some film in holders from more than two years ago that needs to be processed.

Looking into alternatives, I had read about the BTZS tube processing system, but it seemed expensive, and like more of a commitment than I was willing to make given how infrequently I process large format film. However, I came across another idea recently, and decided to give it a try: open-tube processing. The idea is not that you enclose the film and chemistry inside the tube for daylight processing, but rather that the tube is just there to keep the sheets of film from rubbing up against each other and scratching the emulsion as they’re processed in a darkroom. I acquired a piece of 2″ PVC drain pipe (about $8 at the hardware store), and cut it into four 7.5″ long pieces (with lots left over), drilling a few holes around the perimeter of each tube to see if I could avoid the water mark reported in the article where I’d first read about doing this. The holes are almost certainly superfluous, but they’re there, and they’re not hurting anything.

In any case, I recently processed ten sheets from Thanksgiving. It only took about two hours, which is a huge improvement. Processing is exactly like normal open-tray processing, but you fit the film into the tubes (emulsion facing inward) before the presoak, and I found that trays intended for 8×10 processing (actually about 12×10) are big enough to fit four tubes at a time. The tubes are transferred between trays like you’d expect, though I now use 100% agitation, rolling tubes against each other, to ensure even chemistry coverage. The only trick beyond the actual using of tubes that I’ve discovered is to shift each piece of film around inside its tube while in the water bath, so that there’s a thin film of water between the sheet and tube; this avoids the water mark. Once the film slides easily in its tube, you’re golden.

Of course, this speedy processing of film means that I can discover much more quickly just how much I have to learn about shooting with the 5×7 camera — I tried some fancy focal plane shifting tricks for these shots, and only some of them worked. The pictures were exposed and developed perfectly, but the focus… ugh. Some are better than others, but suffice to say that shooting large format is sufficiently different from shooting with an SLR or rangefinder that I can’t consider myself proficient yet. With everything zeroed and flat, I’m fine, but using swings and shifts? Lots to learn.

Must be time to go shoot some more 5×7, and get some learning done!